Page 1 of 3
42 Chevy G506 382497-S Restoration
Posted: Fri Nov 08, 2019 10:51 am
by Farrell Fox
Re: 42 Chevy G506 382497-S Restoration
Posted: Sun Nov 10, 2019 10:43 am
by Farrell Fox
Sat Sep 08, 2012 6:14 pm
We started working on the bed I got from Robin at Tower Park. Got it completely sand blasted, and primed. The 2nd day, we realized the stake pockets were filled with crap.

Couldn't get all of it, so we tipped it over. Glad we did! Ity was filled with rocks, dirt and all sorts of junk! After doing some touch up priming, we painted it!

You can see where I cut larger ovals below the stake pockets to aleviate any collection of water and debris.


Re: 42 Chevy G506 382497-S Restoration
Posted: Mon Nov 11, 2019 3:34 pm
by retro-roco
Great pictures Farrell. Glad to see you're looking at other options to the G. Some day, when you have some time, I'd like to hear what led to the falling out on the G.
Take care!
Re: 42 Chevy G506 382497-S Restoration
Posted: Mon Nov 11, 2019 7:02 pm
by Farrell Fox
I'd gladly post more, just stuck in my newbie phase first where they gotta make sure I'm not spamming the place.
Re: 42 Chevy G506 382497-S Restoration
Posted: Wed Nov 13, 2019 6:38 pm
by retro-roco
Yeah, me too... looks like I've only been on here for about 13 years...

Re: 42 Chevy G506 382497-S Restoration
Posted: Wed Nov 13, 2019 10:50 pm
by Farrell Fox
Dec 13, 2012 10:03 pm
I finally got to work on my truck after this long while. Unfortunately, it was short lived. The shop where it lives for now is receiving a new parking lot, and is set to get under way in just a few days. We were pressed to move her quickly. So we were forced to scrounge for good wheels to get her rolling!
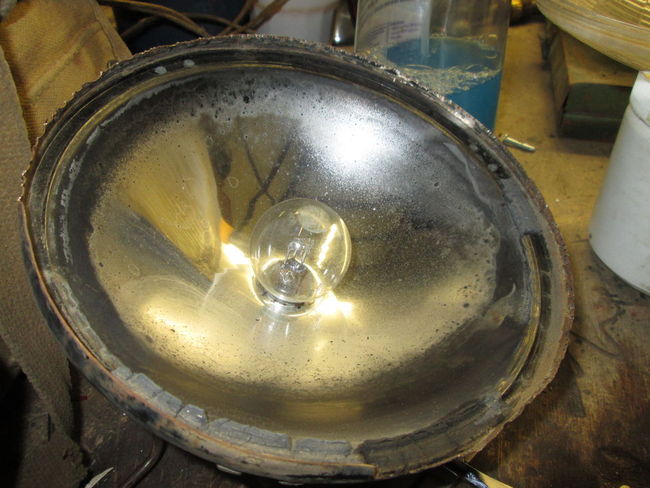
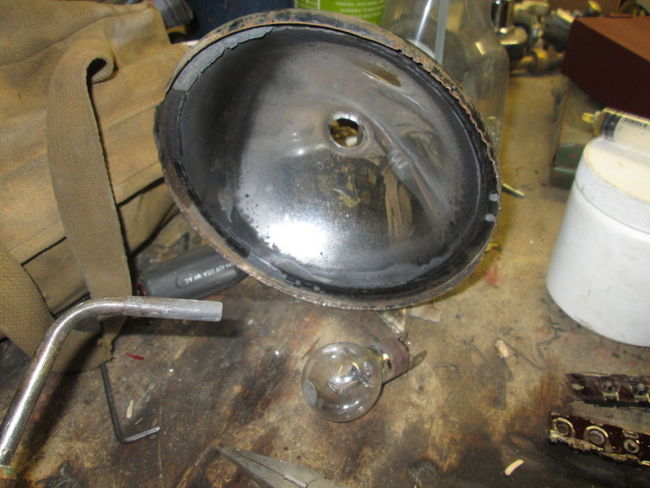
When we first pushed her into the maintenance bay, my friend shrieked and started to yell all sorts of naughty words, cursing his brother. When I ran over to see what the trouble was, he pointed to my B.O. Drive light.....

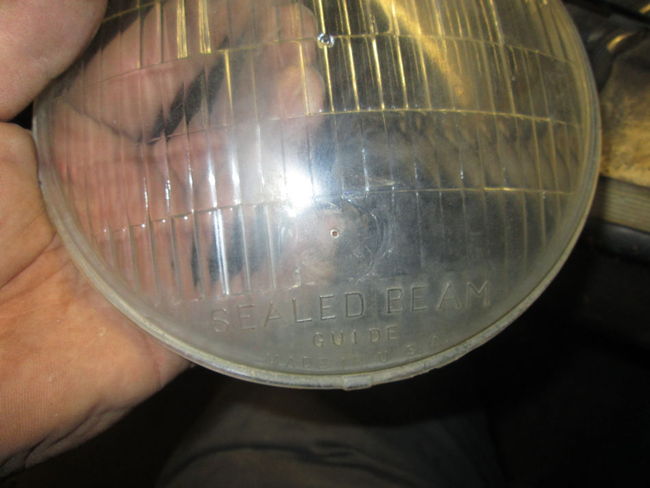
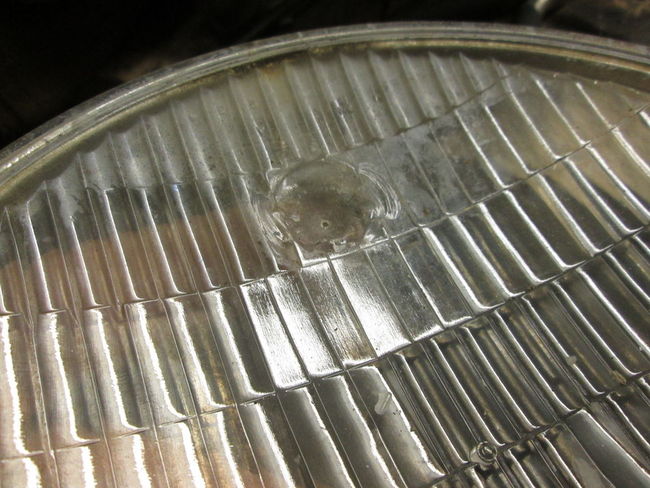
His brother (the facility manager), got a wild hair up his a$$ and decided to move the truck him self the nite before, using a forklift. In his haste he smashed my light and guard. I spent about an hour fixing this mess. All of the spot welds were broken. The original Guid lamp has a crease in the hood that I will never be able to get out. I did fix the guard to where it was nice and straight again. The light looks fine aside from the crease in the hood from the guard smashing it.

The front tires were shot beyond all recognition. Luckily, the recent G518 trailer I found on Craigslist had good WW2 vintage tires that still held air! After that ordeal we jerry-rigged the bed onto the frame and got her ready for transport to her temporary home. (the girlfriend's house!)

We squeezed her onto this heavy duty trailer the shop has. The only crappy part is the ramp is short and almost vertical! We had to use a forklift to get her on.
So far, I got the hydrovac rebuilt and ready to go, and I was able to acquire an original complete wiring harness for about $350! After she gets back to the ramp, and after a good washing from the recently repaired hot water pressure washer we have, I will work on the wheels and brakes. She will get all new wheel cylinders, master cylinder, and brake shoes.
I still have to save up for the ever increasingly expensive 7:50 x 20 tires. This is the most expensive chore on the list
Re: 42 Chevy G506 382497-S Restoration
Posted: Wed Nov 13, 2019 11:00 pm
by Farrell Fox
Mar 27, 2014 7:51 pm
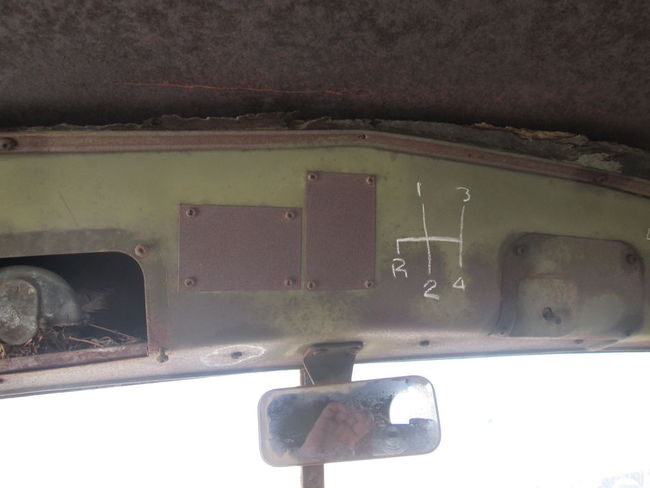
Been making progress on the truck. I pulled the dash about a week ago to install the dash harness and restore the gauges and switches. I also documented the windshield sill drain fittings.

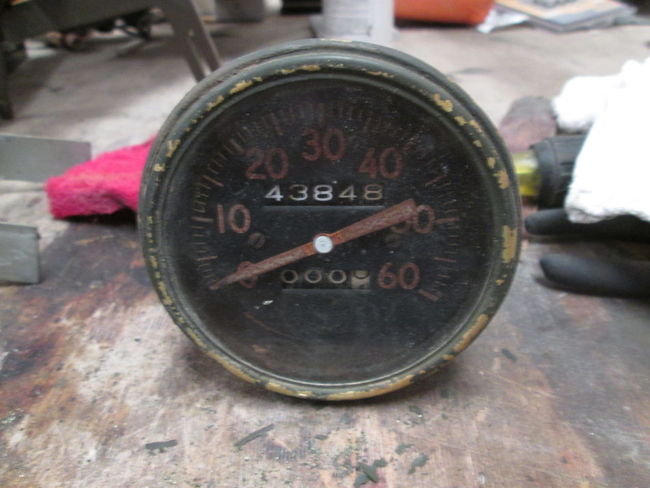
I needed to restore my speedo and obviously cannot afford a complete rebuild. So I went cheap and did it myself
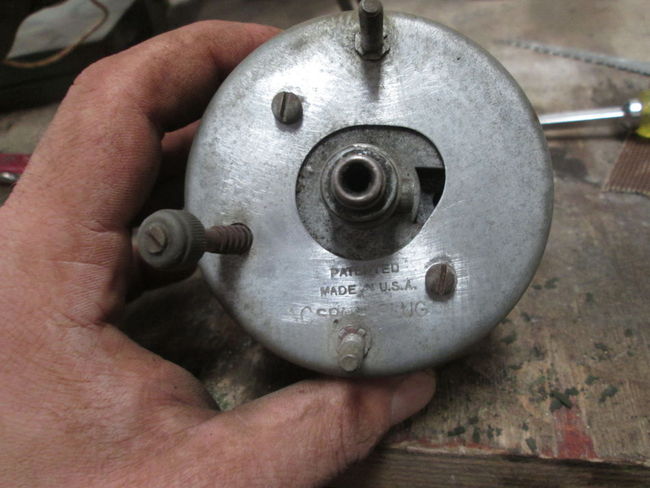
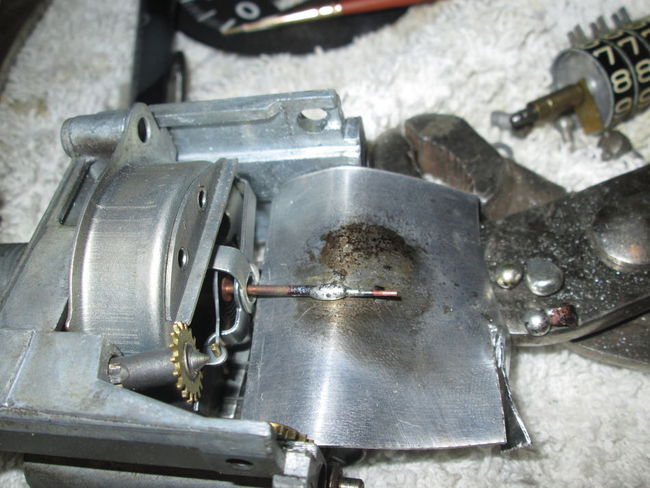
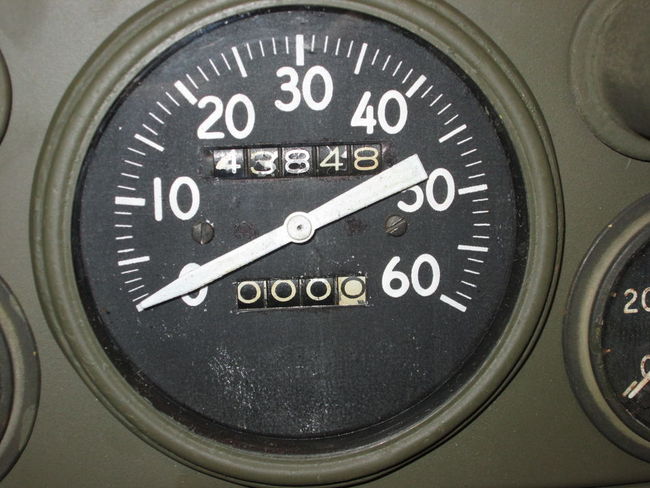
I broke the spindle trying to get the needle off. I also couldn't get the odometer wheels off. So I made a heat shield out of a piece of aluminum and soldered the tip back on. As ugly as it looks it worked perfectly and is solid.
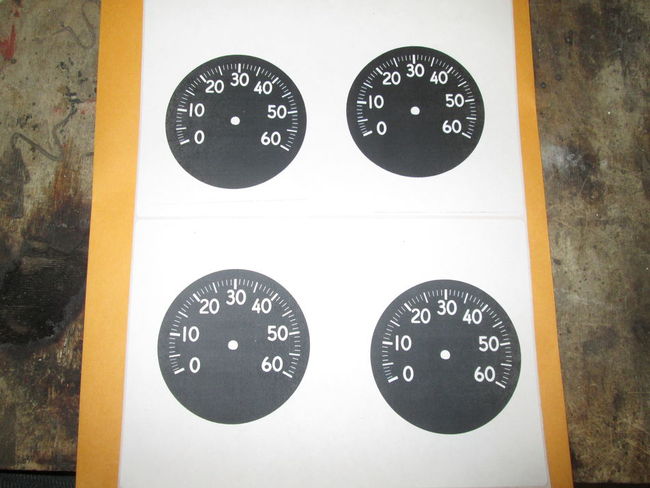
I tried to repaint the face by hand. A feat that I would have been no problem a while back but my medications I have to take cause me to have unsteady hands. It came out ok, but to me wouldn't cut it. So how do I fix this?.......... I'll print a new face! I borrowed the face from my jeep's speedo (gave me a chance to paint the needle and 3 marks with luminescent paint) and copied it in my printer using sticker paper. The results were outstanding!
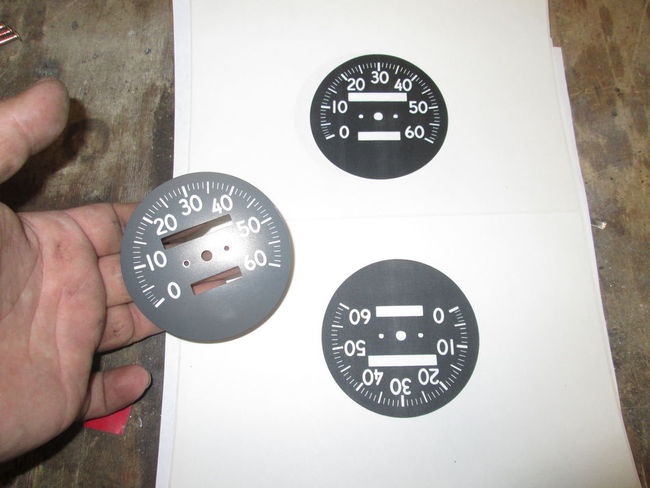
The G503 speedo face I have has odometer and trip windows that are ever so slightly wider and a bit longer. So I blacked them out and copied a new face from the master copy I made. So now I can custom cut the windows specifically to my G506 face plate.
After painting the needle and the 0,20 and 30 hash marks with luminescent paint, I put it all back together. The white fuzzy stuff is from the stupid paper towel I used to clean the glass. This is the end result.
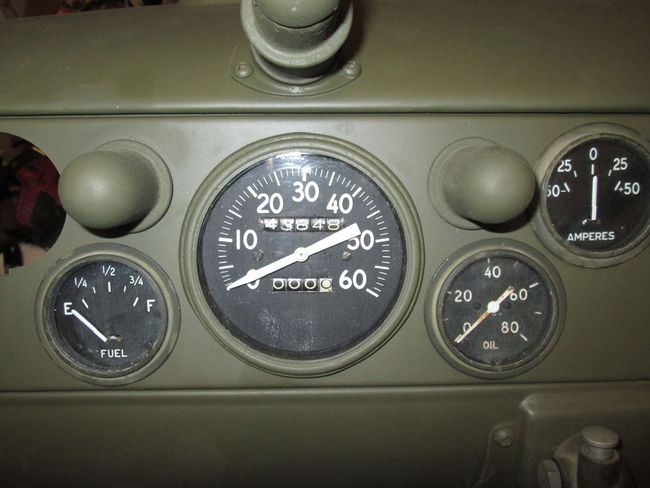
Before and after.
Re: 42 Chevy G506 382497-S Restoration
Posted: Wed Nov 13, 2019 11:08 pm
by Farrell Fox
Re: 42 Chevy G506 382497-S Restoration
Posted: Wed Nov 13, 2019 11:17 pm
by Farrell Fox
May 12, 2019 9:59 am
Since I'm in a pause with making canvas items due to a shortage in fasteners, I've had time to spare on my truck. Which has been a nice change of pace.
I've moved since the last time I really worked on it, and my work space has been reduced quite a bit. However the advantage is the truck is at my house, and I can spend time on it immediately after work.
Over the years, I've had either little time to work on the truck, or was simply too ill to do much. However I made a habit of hitting all the screws and nuts with penetrating oil, in preperation for the time I'd have to remove them. This paid off, since so far, all off the fasteners have been relatively easy to remove. I was able to get the passenger door apart pretty easily. The truck was parked next to a wood grinder at the old facility. It had layers of wood pulp all over, and about a full pound of it in the door. Incidentally, this has kept the inside dry and free of rust. The only thing I'll do is wipe it down clean, and restore the door and window mechanisms.
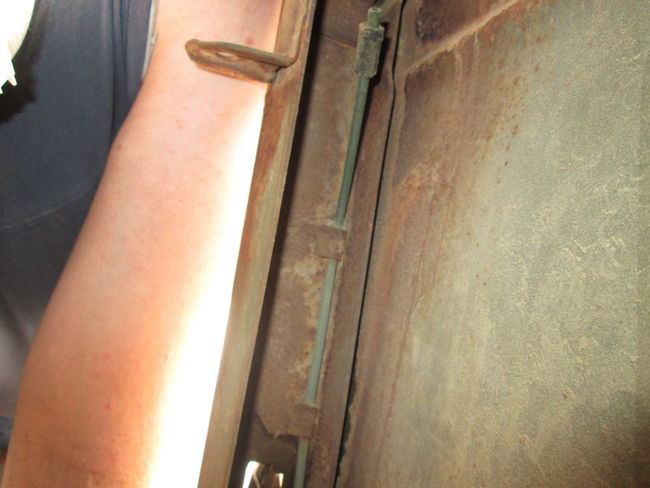
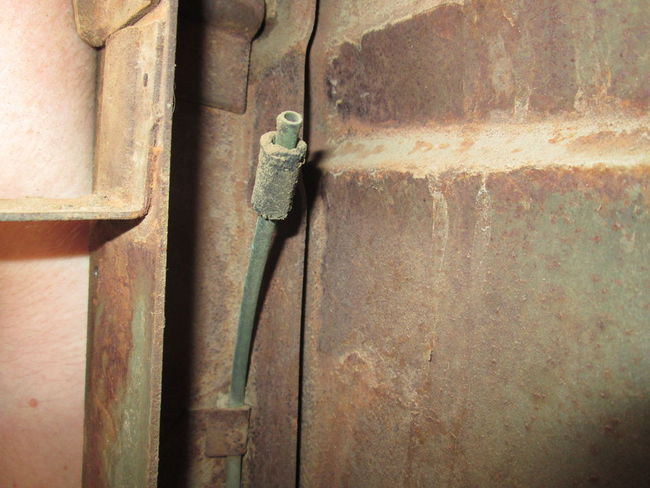
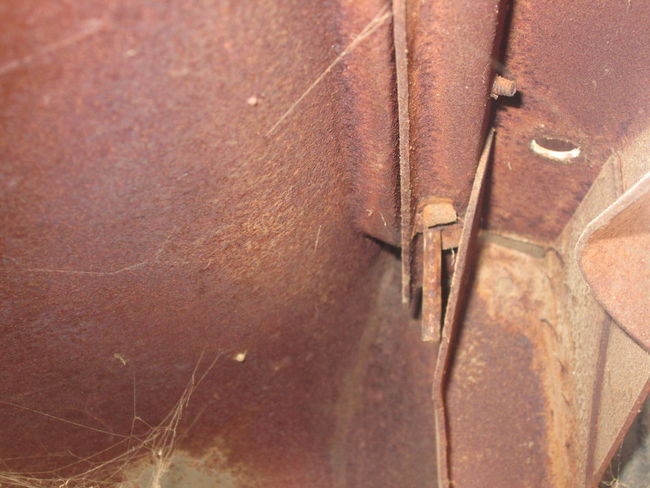
A shot of the rubber insulator that sits between the door frame and outer skin

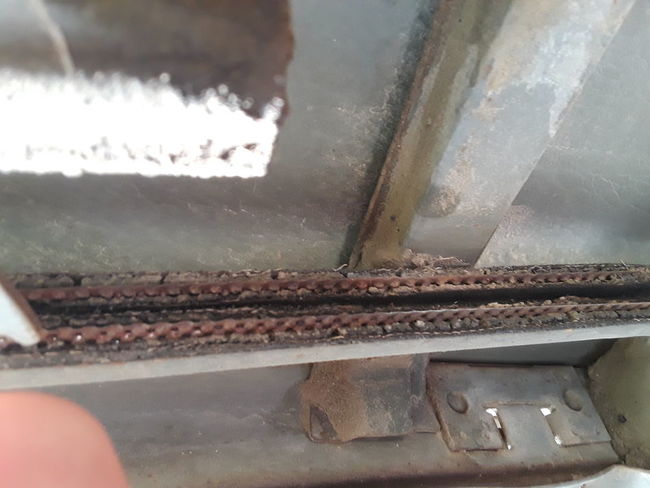
This is the window track with the deteriorated track material inside. I haven't figured out where to source that yet, and the typical Chevy parts sites don't seem to have it. Or if they do, it's not easy to locate on their web sites.
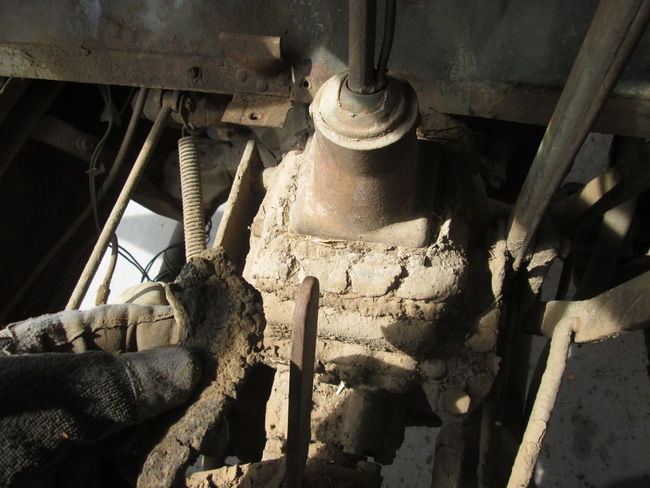
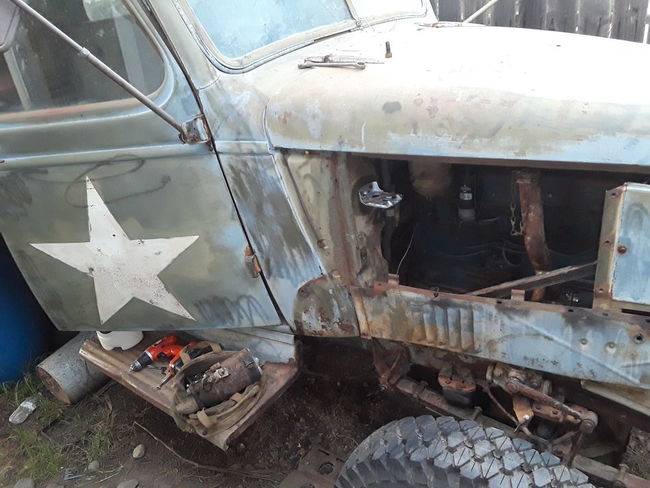
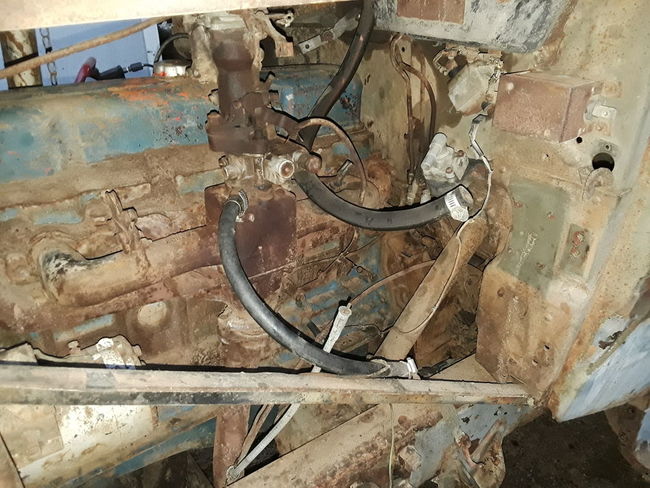
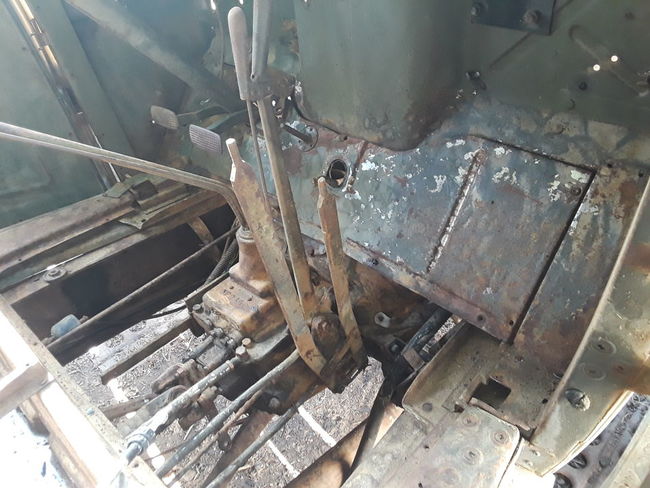
My dirty mess of an engine compartment. Thankfully most of the firewall components can be easily removed. I'm debating on pulling the engine, since I plan to install new engine mounts. I just dread having to pull the transmission and work on the drive line, even though they need a thorough cleaning and degreasing.
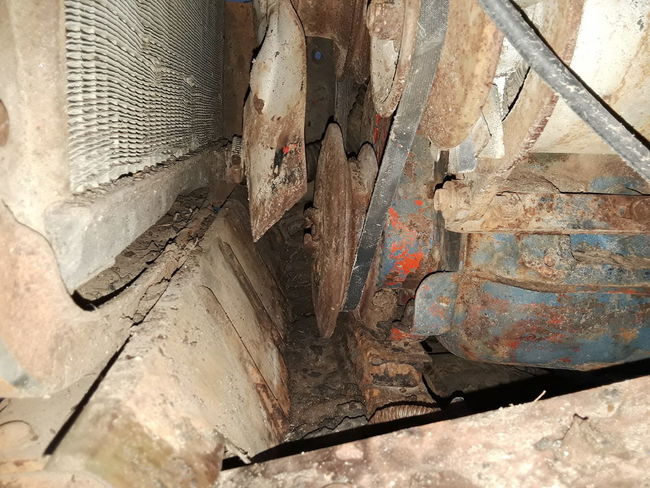
Last I check, my engine is a 1955 235. I'm not sure if the crank sits low on these engines, or if the front engine mount is a bubba special that sits too short. But the way it sits now, I can't use the hand crank.
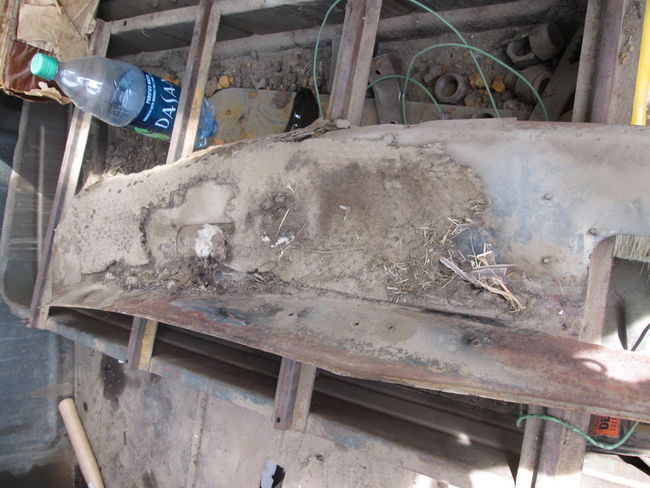
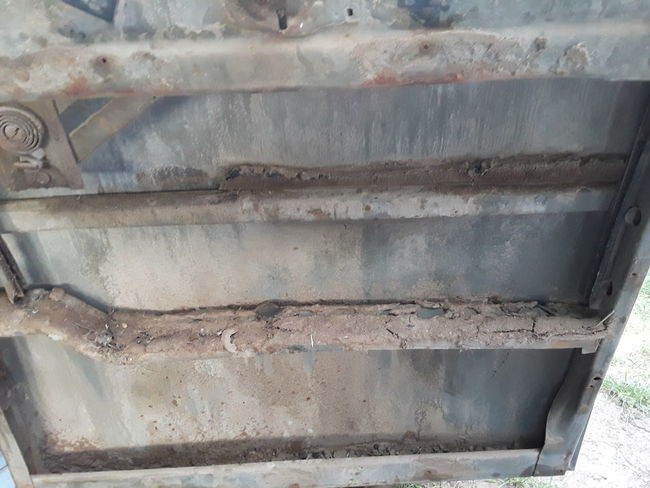
Got the main floor panel out for restoration. This is the only part that needs welding to fix the slot made by the P.O. for the power takeoff lever.
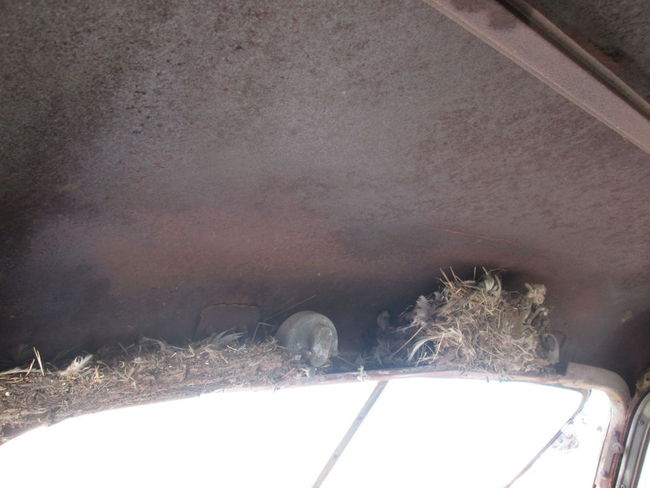
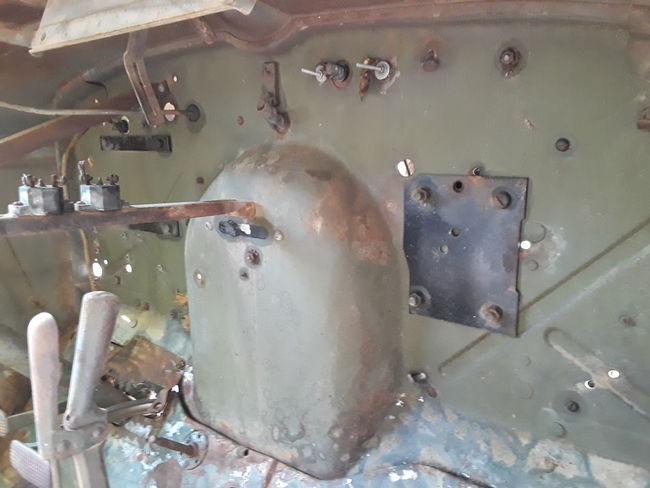
An inside view of my firewall after removing the padding. I wish I would have bought a repro firewall pad set from John when he was making them. I can't seem to find the correct black fiberboard in big enough sheets to cut my own.
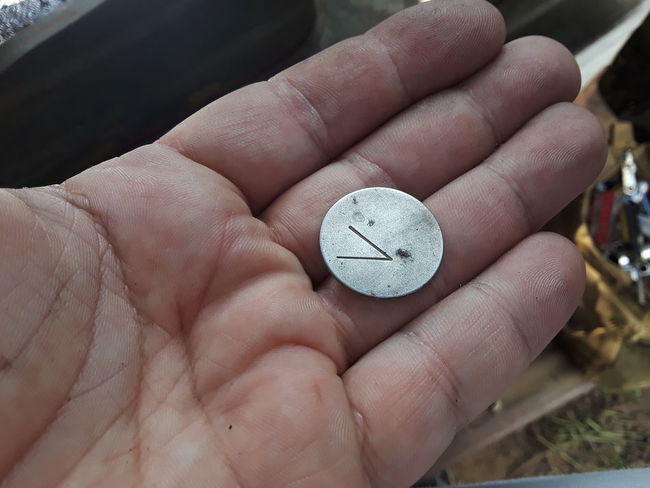
I found this aluminum token inside the passenger door. Has a V stamped on it. Perhaps someone will recognise what it is.
Re: 42 Chevy G506 382497-S Restoration
Posted: Wed Nov 13, 2019 11:25 pm
by Farrell Fox
May 14, 2019 8:32 pm
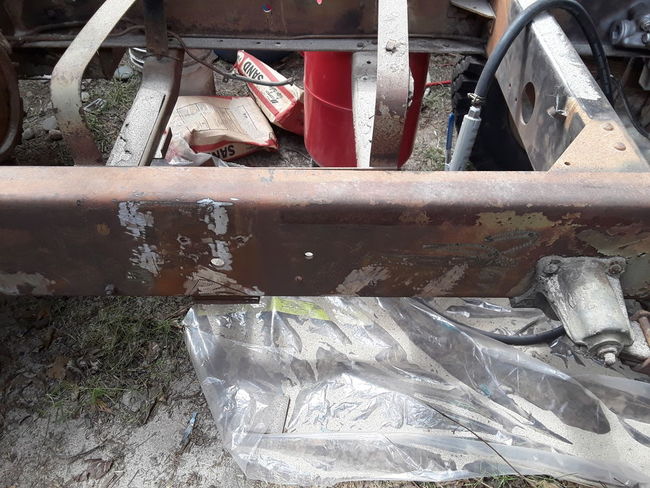
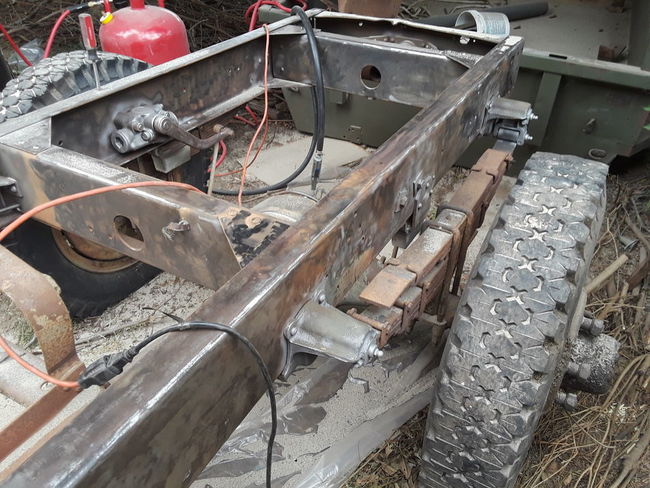
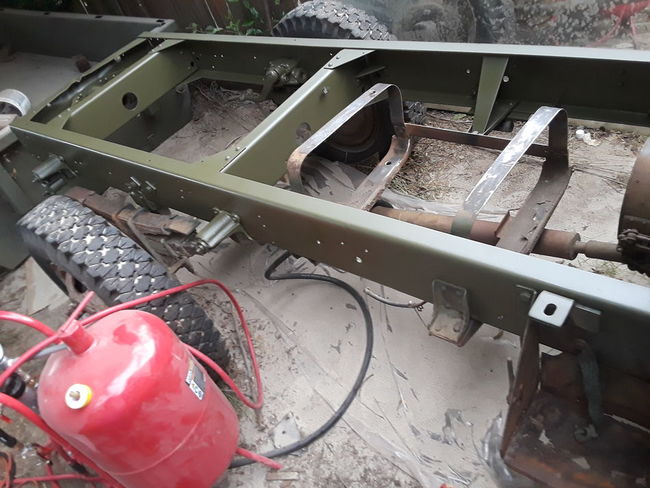
I spent a few hours stripping and painting my chassis. I used a circular gringer and a flapper wheel to get to the easy to reach spots. The spots I couldn't get to I used my sand blaster. I have a tiny 20 gallon tank, so sand blasting was limited. Even though this was quite laborious, it came out quite well.
Unfortunately I was only able to get to the frame, and couldn't do anything with the drive line. Right after I finished the chassis, my neighbor poked his head over to complain about how he thought the lead paint and heavy metals might leach into the ground and contaminate his garden..... . Rather than listen to him whine or show him the plastic sheet I laid down to capture and recycle my media, I cut the job short, and quickly painted it. So now I have to move my work space to the other side of my yard.
Got the last few bubba brackets cut off and the chassis ground clean.
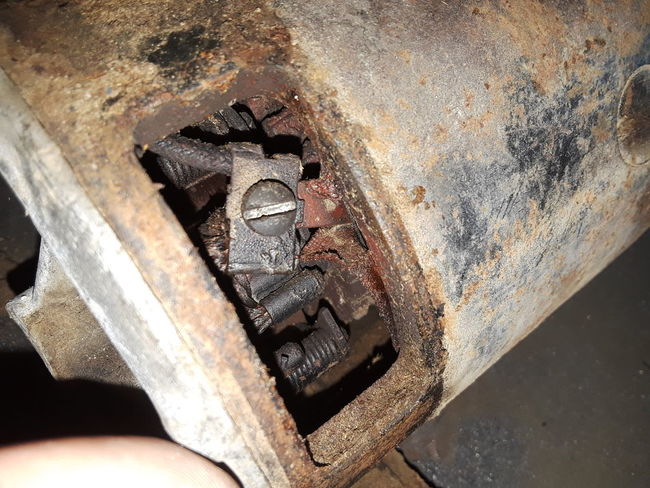
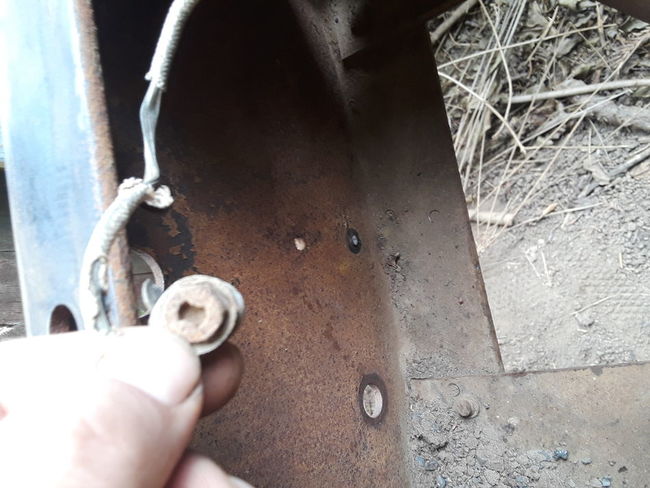
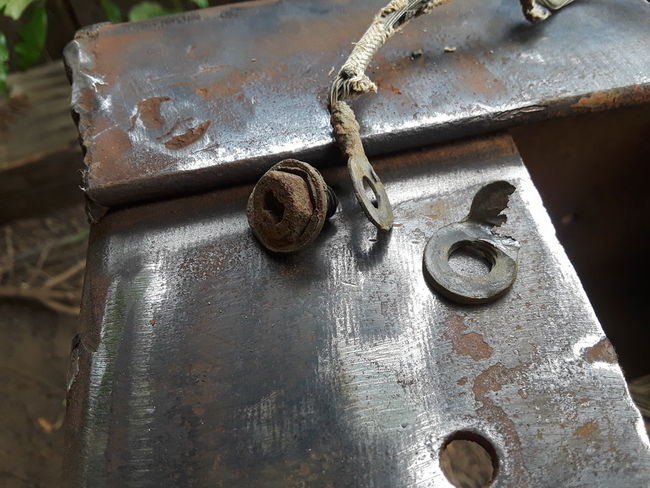
This clutch head bolt is the ground for the trailer socket. It didn't have any toothed washers but had two lead washers that sat below the head with the terminal post sitting in between them.

I still have a few spots to strip and paint, but until I can drag the truck to a new spot, it's all I can get done for now.
Re: 42 Chevy G506 382497-S Restoration
Posted: Wed Nov 13, 2019 11:28 pm
by Farrell Fox
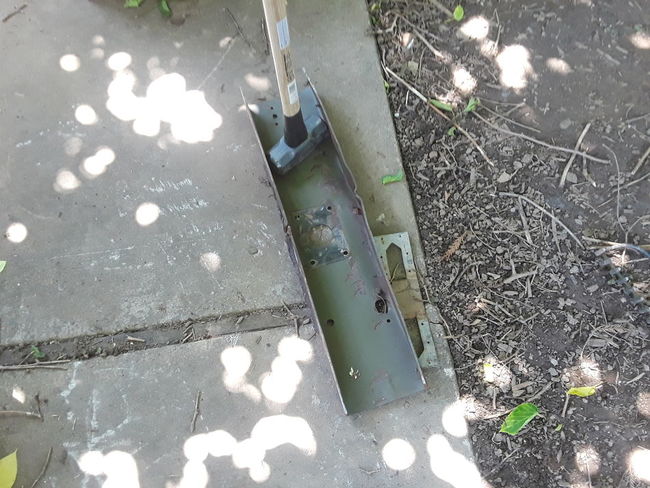
I got the truck moved to the other side of the yard. Unfortunately I didn't have a whole lot of time to work on it. I need to get my rear crossmember straightened out. I thought I might be able to use a heavy sledge, but it just will not budge. Unfortunately I'll probably have to cut the 8 rivets, and remove it to even attempt to work on it.
Re: 42 Chevy G506 382497-S Restoration
Posted: Wed Nov 13, 2019 11:35 pm
by Farrell Fox
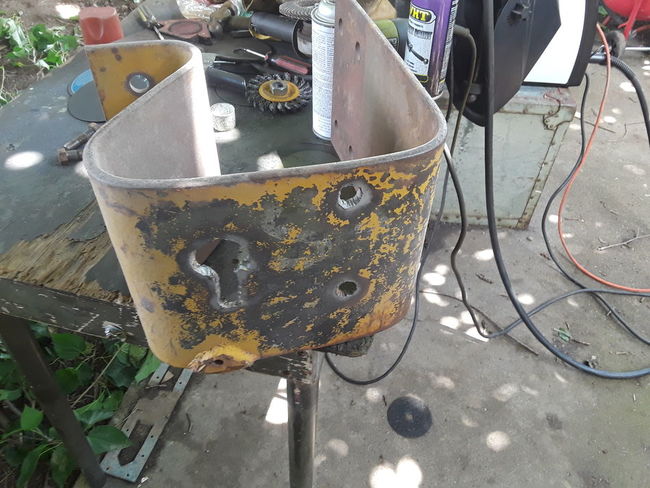
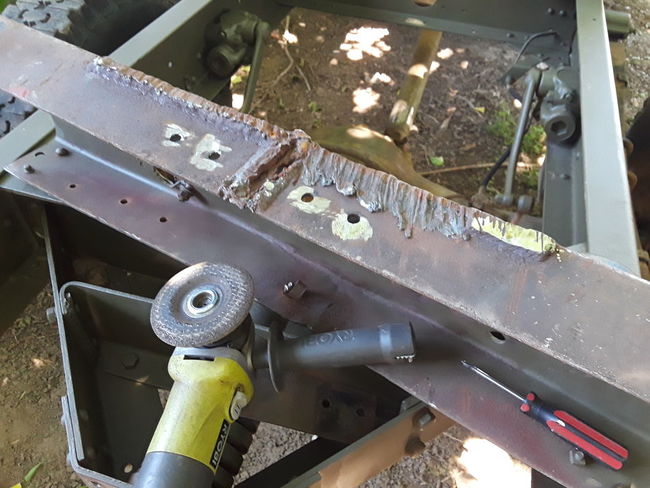
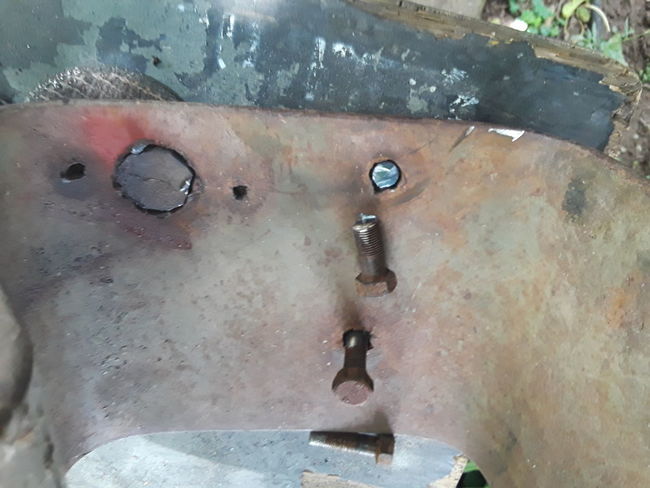
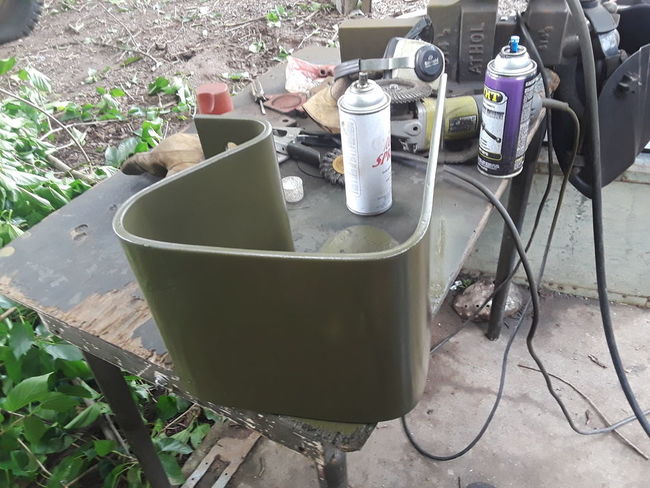
I've finally got a pair of really nice bumperetts for my truck! They needed a few bubba holes welded up, but nothing I couldn't handle. I used scrap metal from the bubba brackets I cut off the chassis to plug the holes, and some of bubba's bolts. If it weren't for the wind that ckicked up, the welds would have blended in much better, but I can live with the results. Nothing some epoxy filler can't hide. I
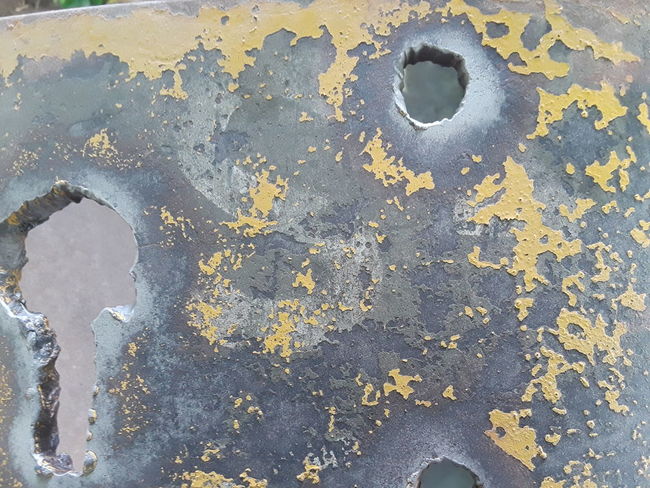
I started on the driver side. Found some original 2nd Airforce markings. Looks like it was part of the 42nd Bombardment Group. Started with the large hole, and a plug piece I cut from scrap metal.
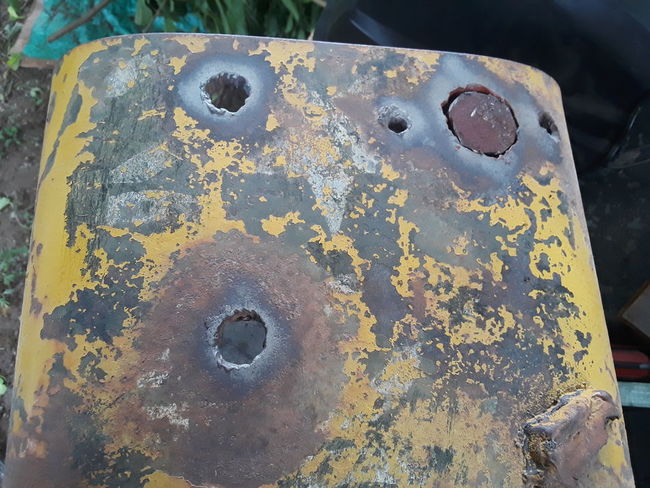
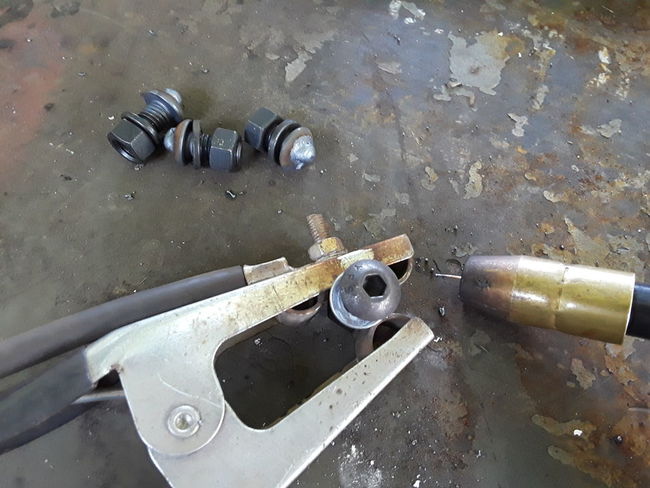
Plugged the smaller holes with otherwise useless bolts.
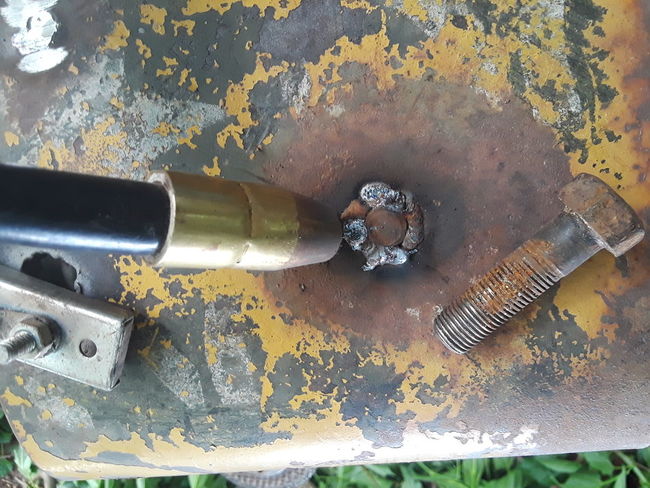
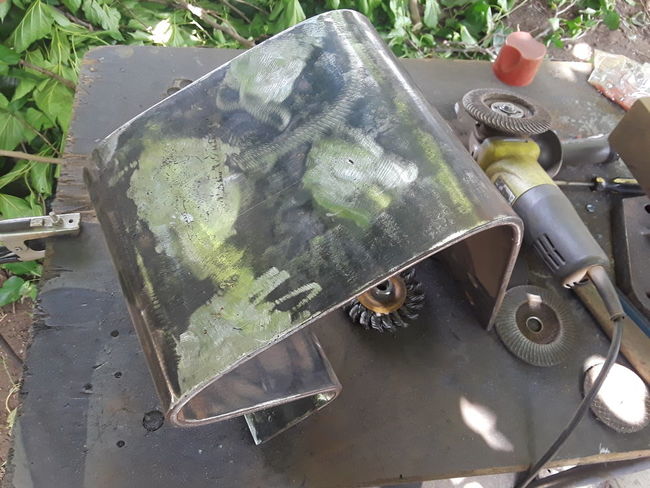
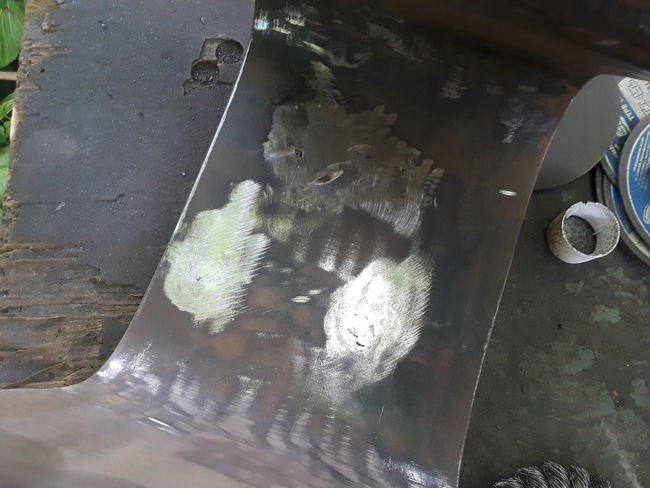
Cut them flush on the. Ack side, filled them in and ground them smooth.
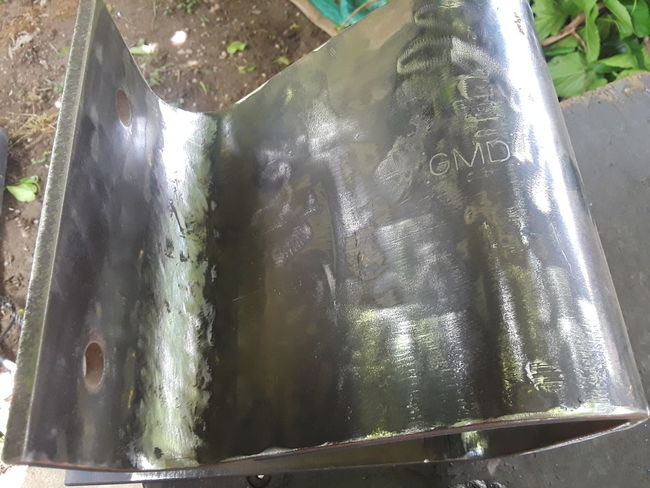
Found this GMD marking
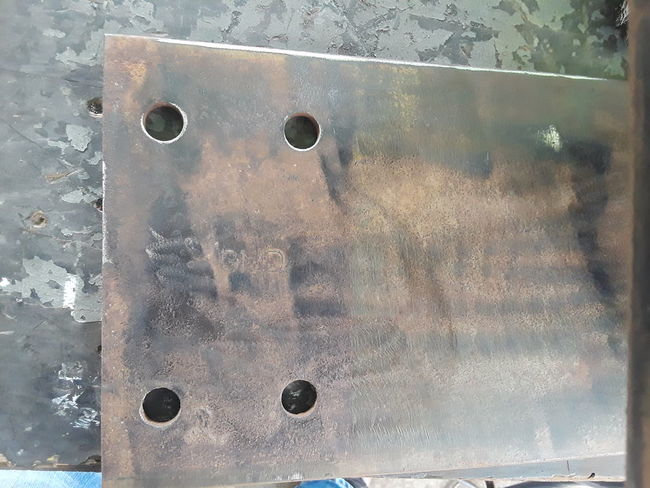
Strip away the paint with the flapper wheel
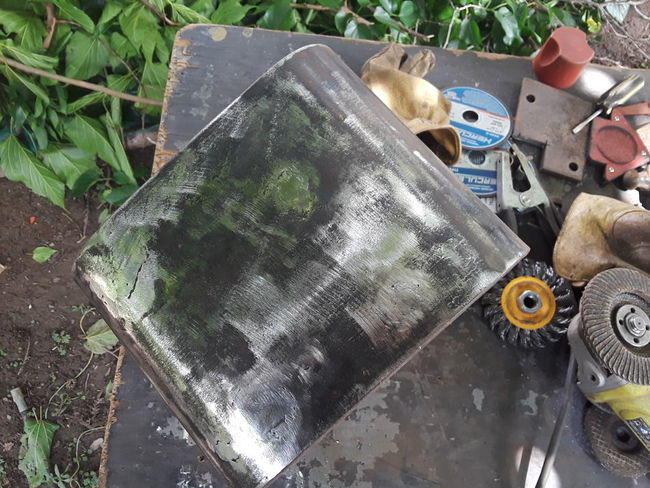
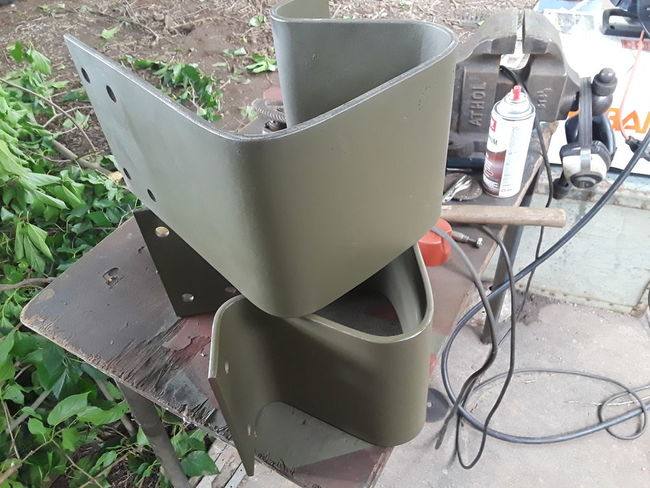
Prime with black epoxy primer.
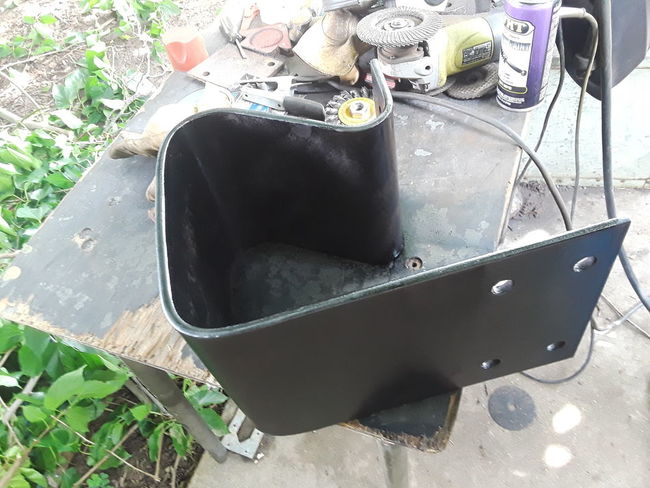
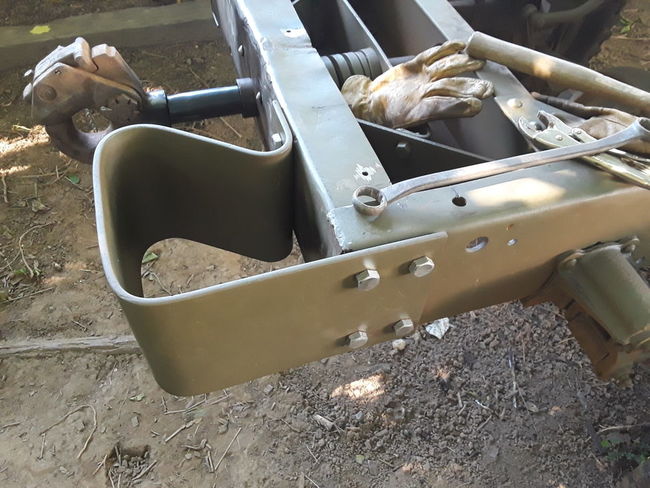
Paint O.D. This is my last rattle can of O.D. but I plan to order in gallons from now on, and use my war time Binks paint gun.
Re: 42 Chevy G506 382497-S Restoration
Posted: Wed Nov 13, 2019 11:44 pm
by Farrell Fox
Re: 42 Chevy G506 382497-S Restoration
Posted: Wed Nov 13, 2019 11:46 pm
by Farrell Fox
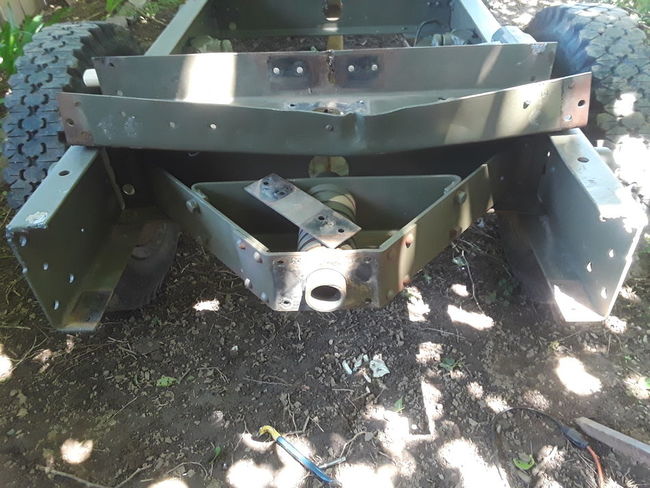
After a full two hours, I got the rear crossmember off. What a job that was. I started pounding it straight with my 12 lb sledge, which is actually working out better than I expected. It needs more, but I need a break.
Re: 42 Chevy G506 382497-S Restoration
Posted: Wed Nov 13, 2019 11:50 pm
by Farrell Fox
Re: 42 Chevy G506 382497-S Restoration
Posted: Wed Nov 13, 2019 11:53 pm
by Farrell Fox
Re: 42 Chevy G506 382497-S Restoration
Posted: Wed Nov 13, 2019 11:57 pm
by retro-roco
Farrell,
Do you have any more blasting to do?? If so, I really recommend this pressure washer attachment from Northern Tool.
https://www.northerntool.com/shop/tools ... _200660204
And it is on sale right now too!
Re: 42 Chevy G506 382497-S Restoration
Posted: Wed Nov 13, 2019 11:58 pm
by Farrell Fox
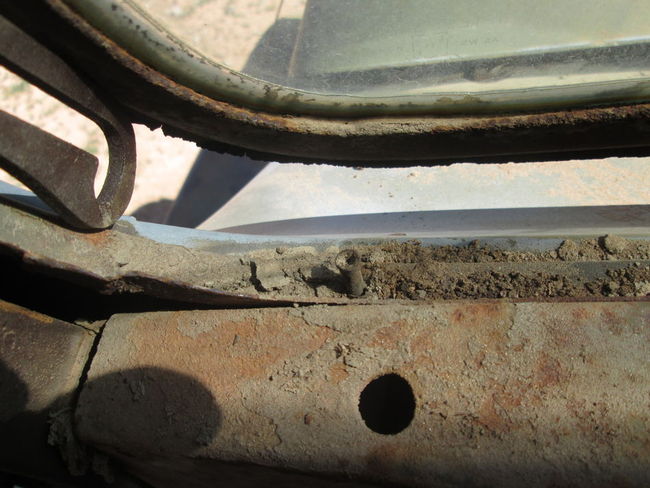
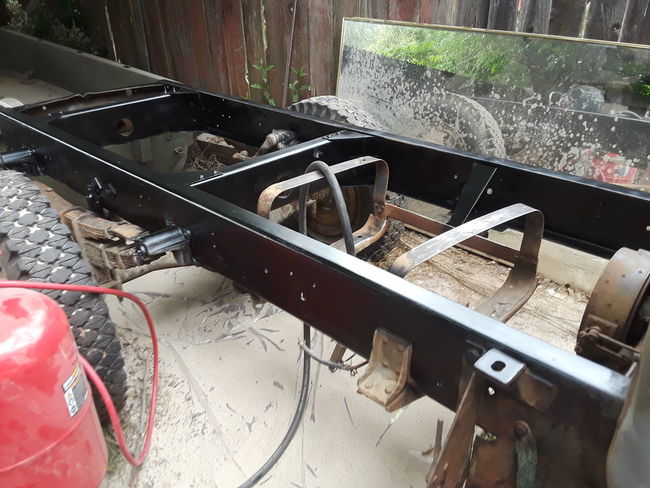
Finally finished the chassis. Well, sort of. Need to drill holes for the top side rivets. Bubba ground them flat and welded them to fit his dump bed frame.
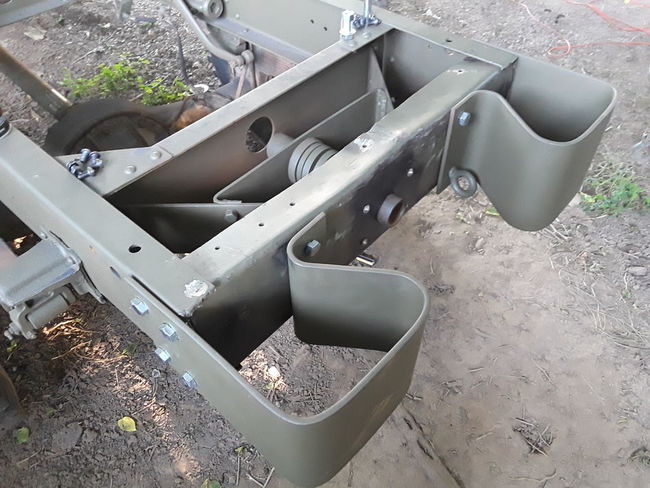
My immitation rivets came out pretty decent.
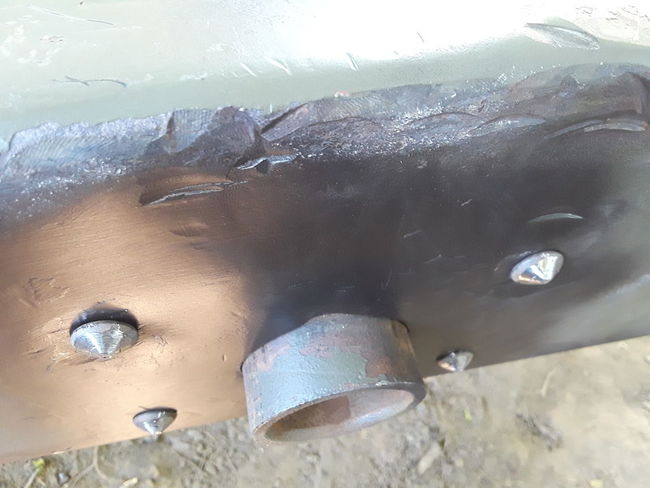
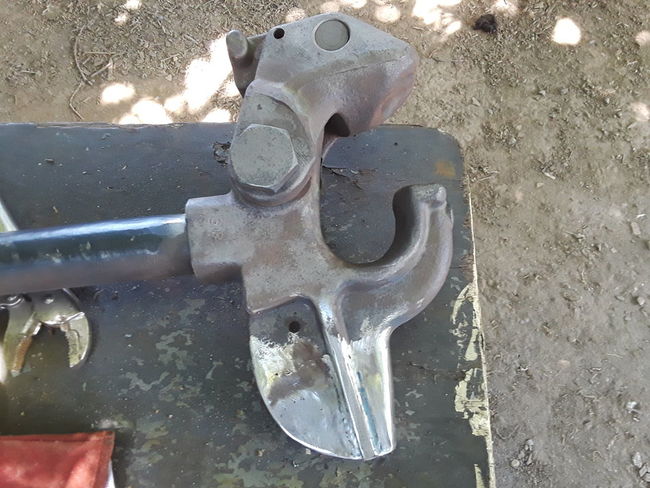
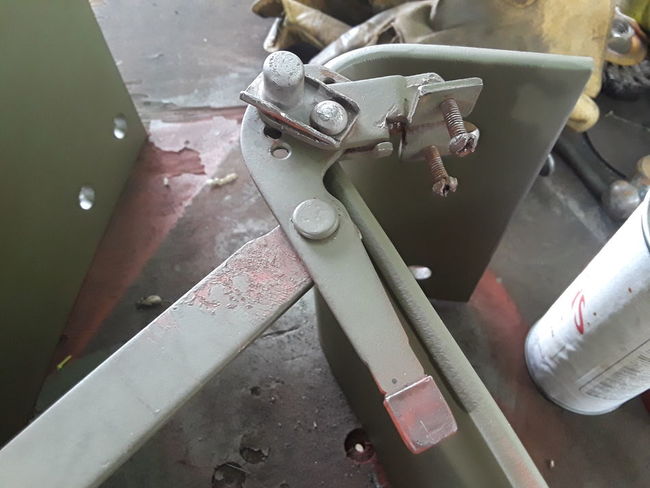
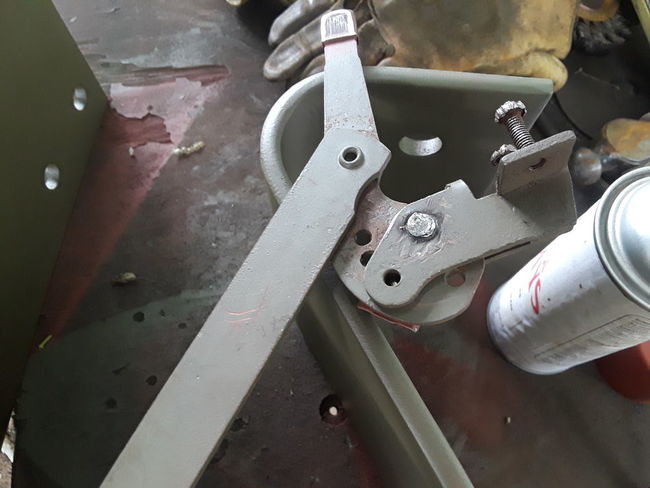
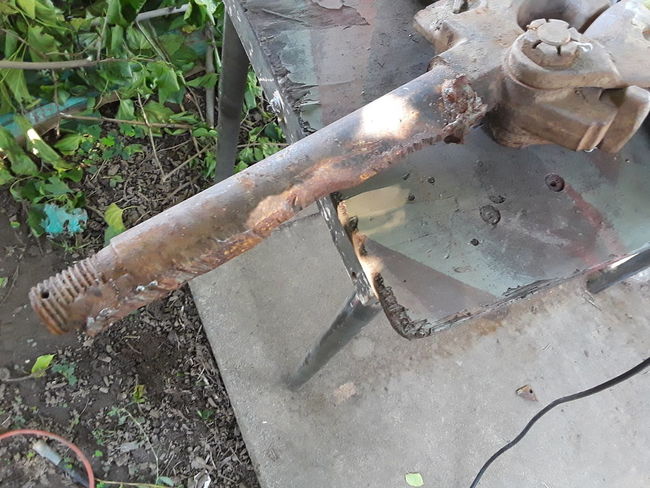
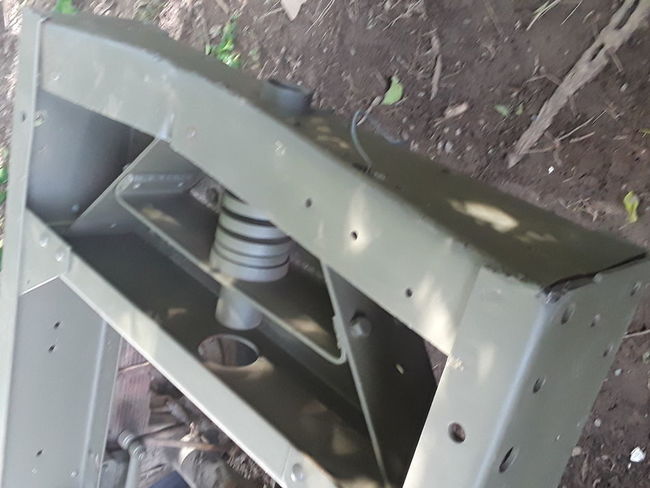
I started working on the pintle, and got the pieces cut for the fin. Got most of the way, but was elected to make dinner. So I'll have to finish it later.
Re: 42 Chevy G506 382497-S Restoration
Posted: Thu Nov 14, 2019 12:00 am
by Farrell Fox
retro-roco wrote: ↑Wed Nov 13, 2019 11:57 pmDo you have any more blasting to do??
Hi Kirk,
At the moment, I use a local powder coating shop to sand blast my parts. If I didn't have whiny neighbors, I'd definitely equip myself with something like that!
Re: 42 Chevy G506 382497-S Restoration
Posted: Thu Nov 14, 2019 12:03 am
by Farrell Fox
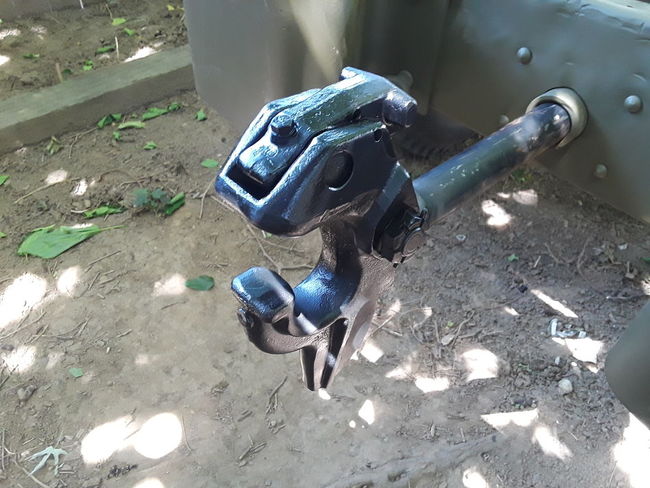
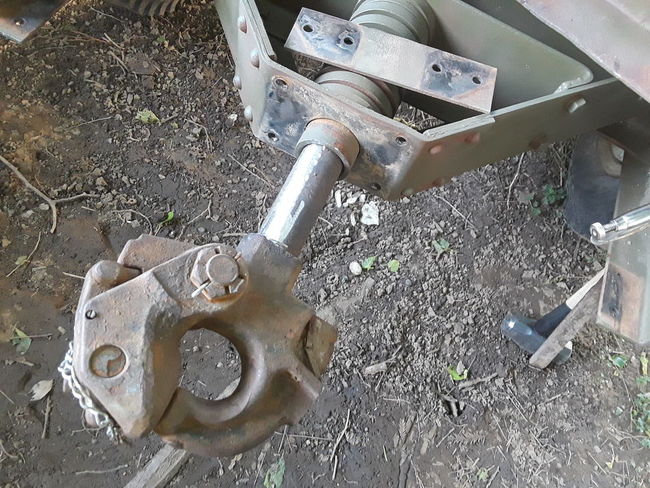
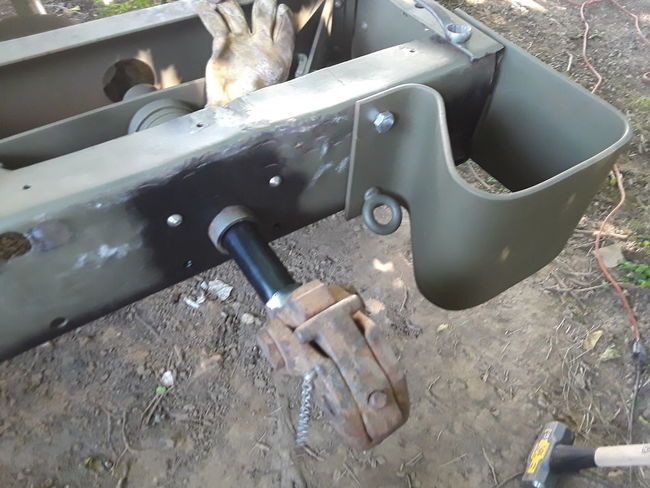
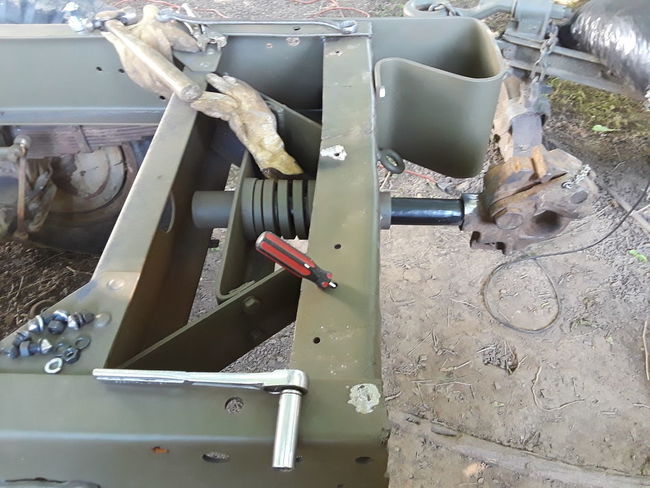
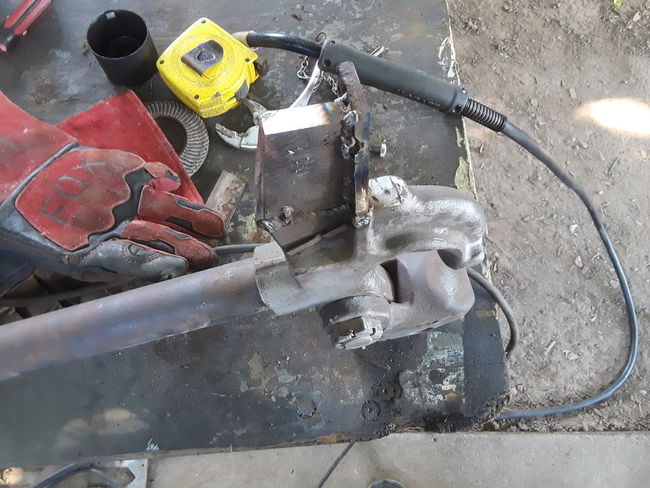
Finished up my pintle, and got the fin welded up. Not perfect, but close enough. Now I just need to figure out what size nut I need, and get one ordered.
I think next, I'll work on removing my battery box, and getting that fixed up. Needs a new pan, and the middle enclosure.