Page 1 of 1
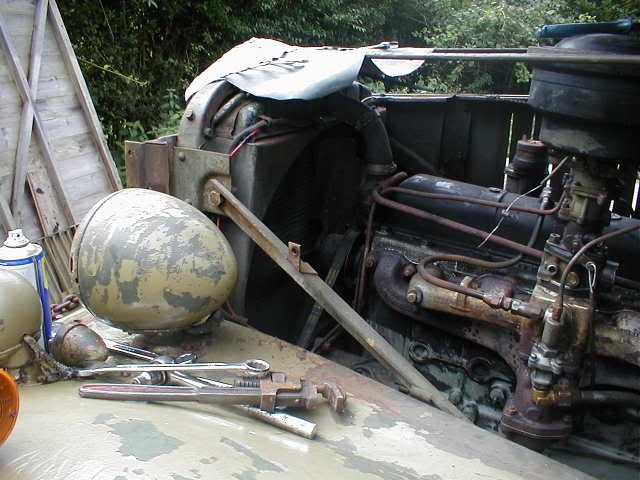
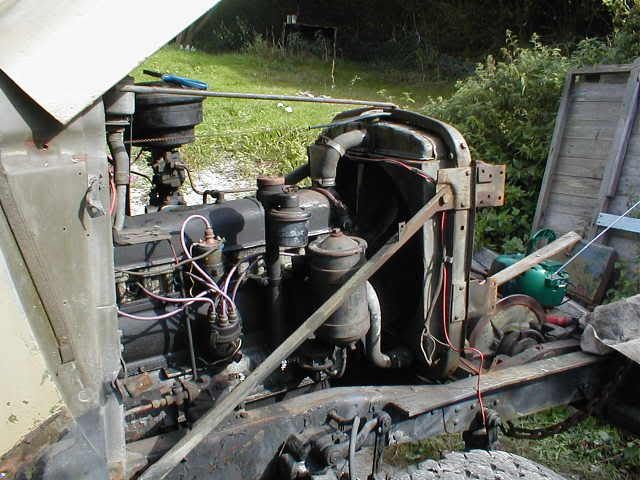
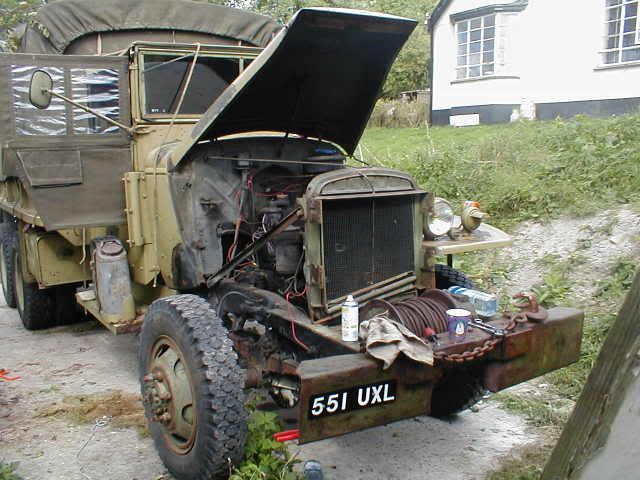
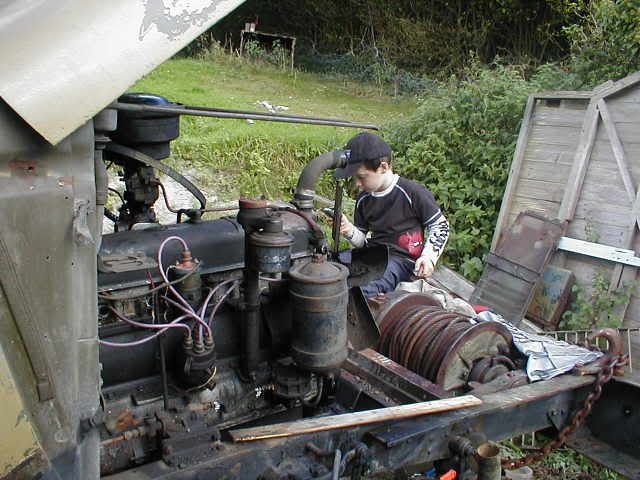
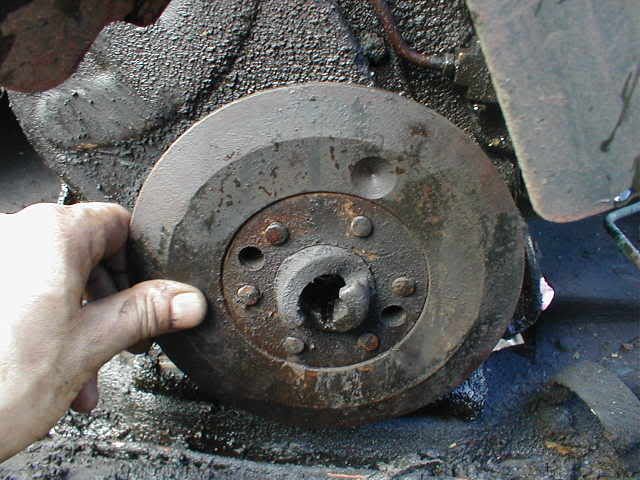
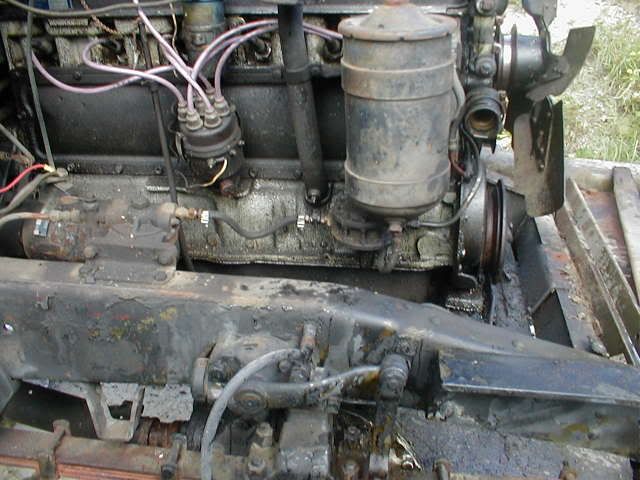
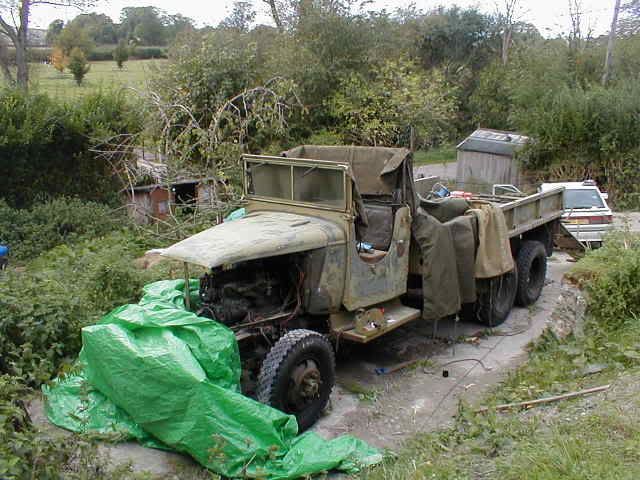
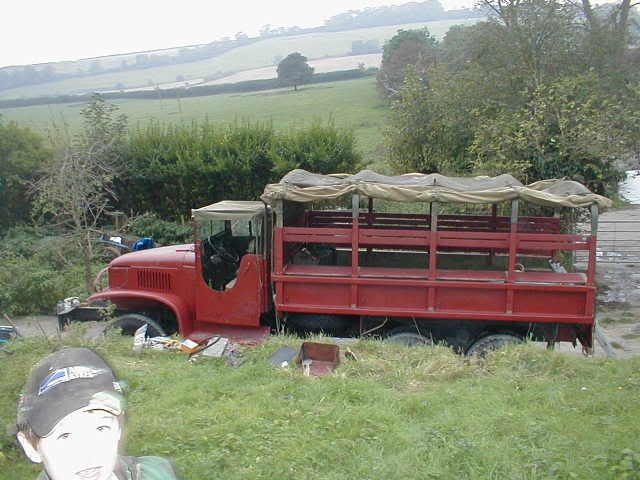
Pulling the front end, pictures
Posted: Mon Sep 19, 2005 5:24 pm
by UK Jack
Posted: Mon Sep 19, 2005 7:15 pm
by armydriver
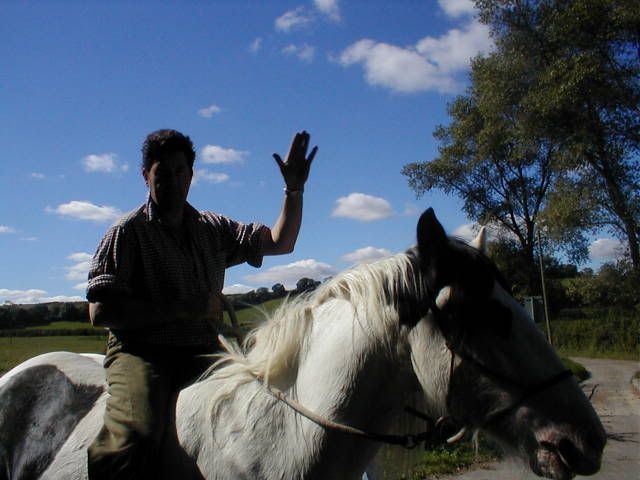
Nothing like true horspower in a positive way and only burns hay, not expensive gasoline. Great photos.
Posted: Mon Sep 19, 2005 8:36 pm
by dr deuce
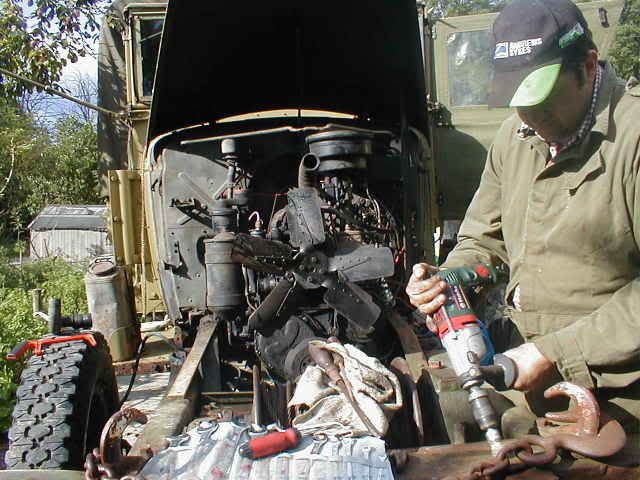
If it is original or has not been taken apart in a while, I replace all the bolts that hold the front sheetmetal on and use anti-seize compound on all of them when re-assembling. If you plan on keeping the truck for a while, you WILL be taking it apart again!
BTW with 2 strong people, you can remove the whole front 'clip' in one piece to do such engine repairs as shown here.
Posted: Mon Sep 19, 2005 9:54 pm
by pfarber
Get those doors to a shop and make repro's!!!!
Re:
Posted: Tue Sep 20, 2005 5:55 am
by UK Jack
dr deuce wrote:If it is original or has not been taken apart in a while, I replace all the bolts that hold the front sheetmetal on and use anti-seize compound on all of them when re-assembling. If you plan on keeping the truck for a while, you WILL be taking it apart again!
BTW with 2 strong people, you can remove the whole front 'clip' in one piece to do such engine repairs as shown here.
The truck is going no where Doc

I have waited 30 years for it and its all mine.....all mine I tell you! I do intend to replace all the bolts as this is going to make the painting of the GMC a lot smoother.
I was thinking about using butterfly nuts in certain places, just for ease of use.
Posted: Tue Sep 20, 2005 7:54 am
by armydriver
Doc is right on the anti-sieze compound. On the butterfly nuts, make sure you can get them real tight. Looking good so far.
Posted: Tue Sep 20, 2005 4:53 pm
by dr deuce
I tell people anti-sieze is like Plutonuium! When you get done, you have little (or not so little) silver splotches all over the place and have no idea how they got there no matter how careful you are with the stuff!
How do they ever control Plutonium...?
Posted: Wed Sep 21, 2005 12:51 am
by weberwlk
use stainless steel bolts.
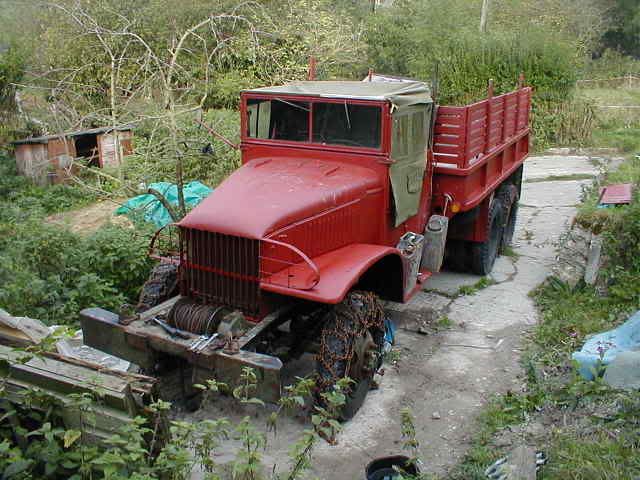
Posted: Sun Oct 16, 2005 5:25 pm
by UK Jack
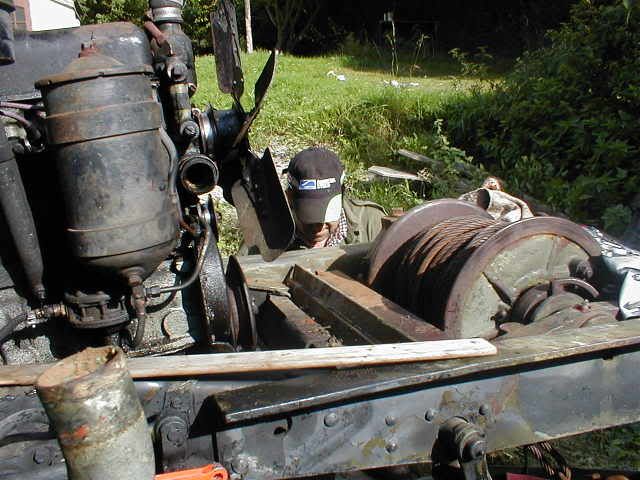
Hi all........remember this;
.
.
Thanks to the wonderful efforts from 'Captain' Karoshi..............we are getting there;
.
.

.
..
.
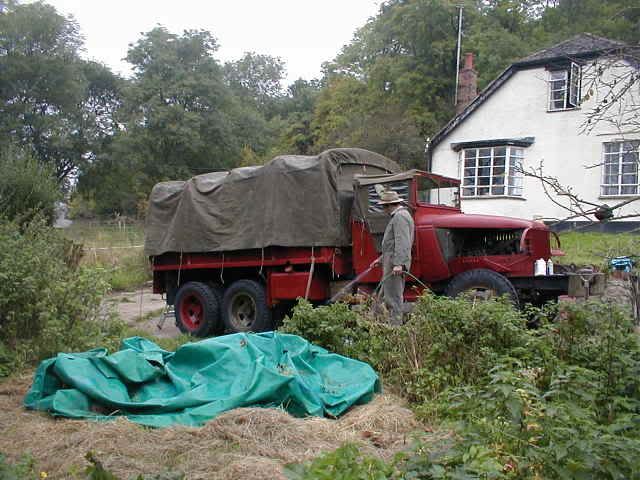
I would just like to say that Iam so pleased that this site is doing what it was set up for, to share information, ideas, to meet each other and to help each other where we can. In spirit of all of the above, Karoshi gave up a day of his life, drove down from Portsmouth and sorted out the pulley problem.
Would just like to say publically........
thank you mate, you are a star and I won't forget your kindness.
Jack.
Posted: Sun Oct 16, 2005 8:23 pm
by Bill_Wolf
Jack,
I am sure that unfortunately some of us may run into what you have in the pulley situation.
What was the resolution that you and Karoshi worked out with the pulley.
Spun?....Key way issues?....update please.
Bill
Posted: Sun Oct 16, 2005 10:24 pm
by armydriver
Yes, please we await the solution to this ongoing saga.

Posted: Mon Oct 17, 2005 4:39 pm
by UK Jack
Well guys, I am not to sure

as I was in the office whilst Karoshi worked his magic

..........I think it is one of those secret recipes things but it did involve drills and disc cutters but he was dissapointed that he didn't get to use his gas torch!
Thanks to everyone for there help on this.
Pulley
Posted: Mon Oct 17, 2005 5:53 pm
by Karoshi
The pulley thing was a combination of issues. The basic fault was wear in the keyway of the pulley boss. (read Jack) The key had started to shear and wedged the pulley/damper to the crank. The piddley little puller that Jack used just wasn't man enough.
So after cutting away the starter dog, and damaged stubb of the pulley hub to leave a smooth uniform boss with no steps, I pulled the sump pan removed the two timing cover retaining bolts and slid the timing cover off, over the damaged boss.
Drilled a series of shallow 1/4 inch holes to weaken the keyway boss, split the boss with a sharp chisel to release the tension and bingo........... job done.
New key, new damper/pulley, new belt, and new seal, and she was ready to rock.
Shame about the oxy! Next time Jack, Next time.
Posted: Mon Oct 17, 2005 7:12 pm
by Bill_Wolf
Karoshi,
A Big time pulley repair and painting his rig too...he is going to owe you big time. Are you now in the "will"?
Do you do "windows"?

Bill
Front end.
Posted: Tue Oct 18, 2005 4:22 am
by Karoshi
Weasel, thats what this (these) forums are about, yeh. Helping each other. Nice he's now got it running again.
I can't claim credit to the painting though, that was all Jacks work.
Karoshi
Posted: Tue Oct 18, 2005 7:47 am
by armydriver
Thanks for the info on the pully job and what a beautiful red paint job. Well done guys.